The Ultimate Zebra ZPL Label Designer Guide: Visual Design to Native ZPL II Code
Stop manually calculating dot coordinates. Discover how to visually design thermal printer labels and generate clean, standardized ZPL II code for Zebra printers in seconds.
Try the Zebra ZPL Label Designer
Design shipping labels & barcodes visually with instant ZPL II export.
Why Traditional ZPL Programming is Challenging
Zebra Programming Language (ZPL II) is the global standard for industrial thermal printers. However, hand-coding ZPL files requires calculating exact X/Y coordinate positions in printer dots, managing font height scale factors (`^A0`), and setting up barcode ratio parameters (`^BY`).
A single miscalculated coordinate can cause text overlapping, barcode truncation, or unreadable scanner feeds. Visual label designers solve this problem by converting drag-and-drop layouts into raw, error-free ZPL II code.
Visual ZPL Designer Overview
The BarcodX ZPL Label Designer provides an interactive canvas where you can set custom label dimensions (mm, inches, pixels), place Code 128 or QR Code elements, adjust text fonts, and preview element coordinates visually in real-time.
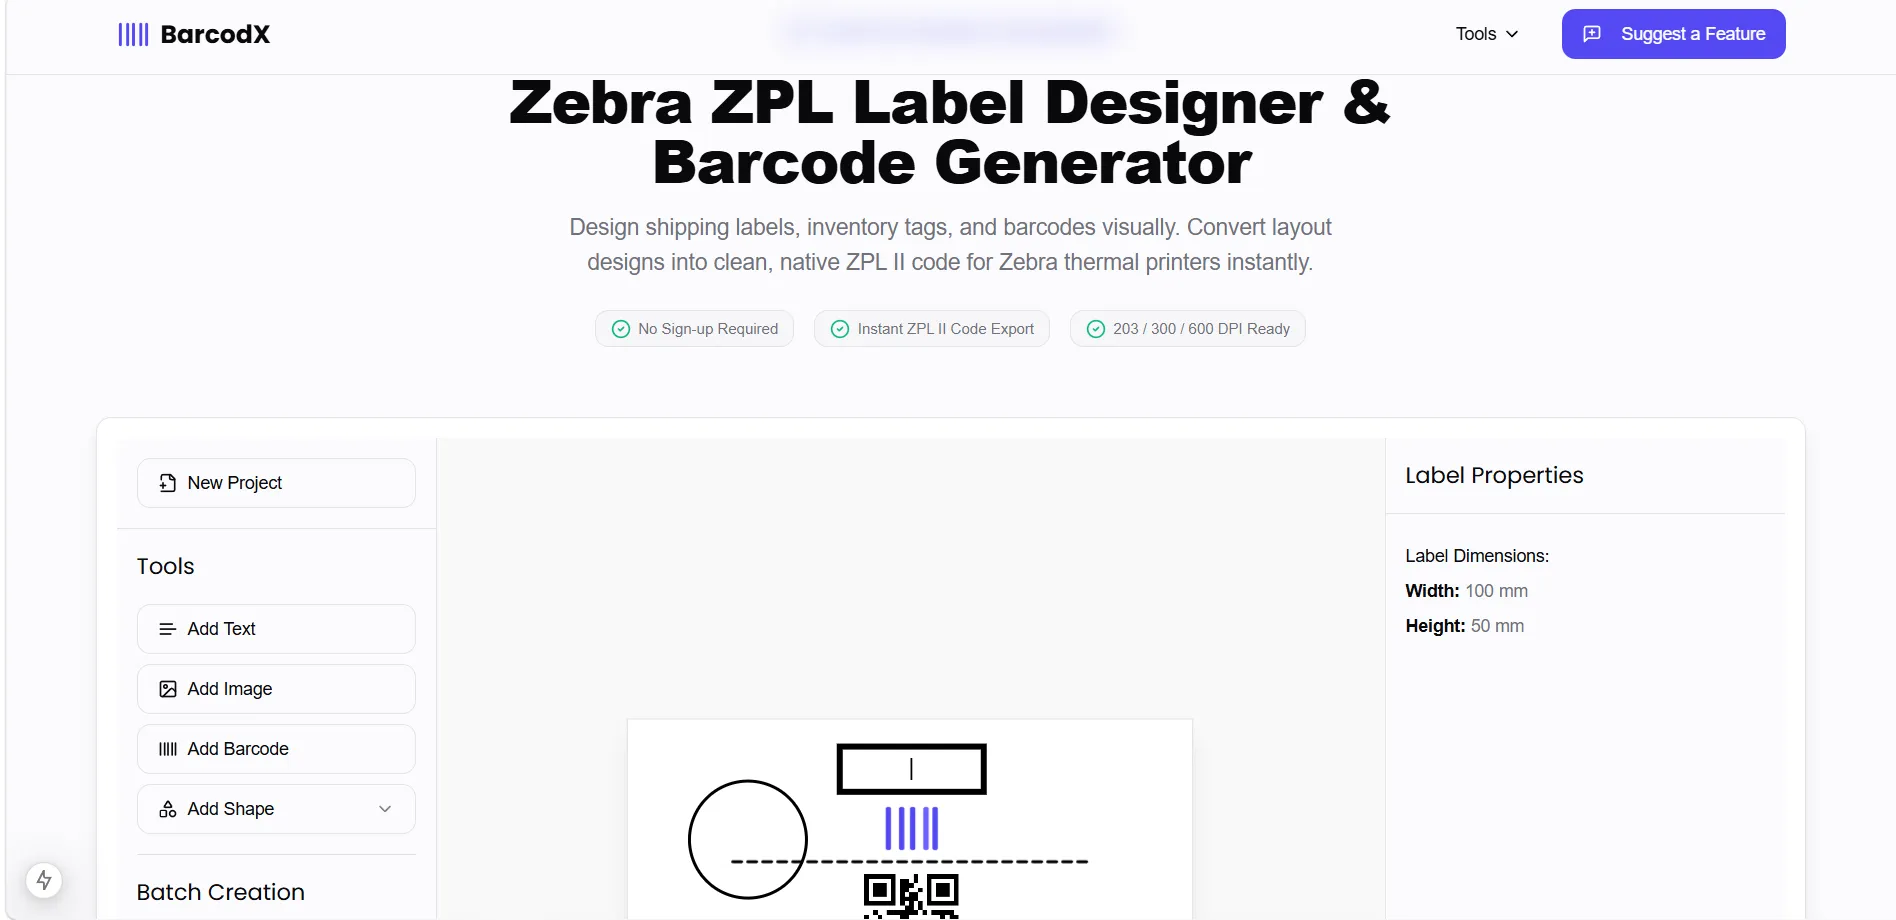
Figure 1: The visual drag-and-drop label designer canvas with live property inspector.
Understanding Printhead Resolution (203 vs 300 vs 600 DPI)
ZPL coordinates (`^FOx,y`) operate directly in printer dot units. Because dot density varies by printhead, selecting the correct DPI in your designer is critical:
203 DPI (8 dots/mm)
Standard for 4x6 shipping labels & warehouse tags (e.g., Zebra ZD421, ZT411).
300 DPI (12 dots/mm)
Ideal for small product packaging & high-density 2D barcodes (e.g., Zebra GX430t).
600 DPI (24 dots/mm)
Ultra precision for micro electronic components & medical vial tags (e.g., Zebra ZT610).
Step-by-Step: Designing a ZPL Label
- Set Dimensions & DPI: Configure your label width and height (e.g., 100mm x 50mm) and select your target printer DPI.
- Add Barcodes & Text: Click "Add Barcode" to insert Code 128, QR Code, or UPC elements. Adjust values and position them visually on the canvas.
- Export ZPL Code: Click "Export" to generate clean `^XA ... ^XZ` ZPL commands or download a ready-to-print `.zpl` file.
Export Phase & Anatomy of Generated ZPL II Code
During the export phase, the visual canvas compiles every element's positioning and font metrics into standardized ZPL II code:
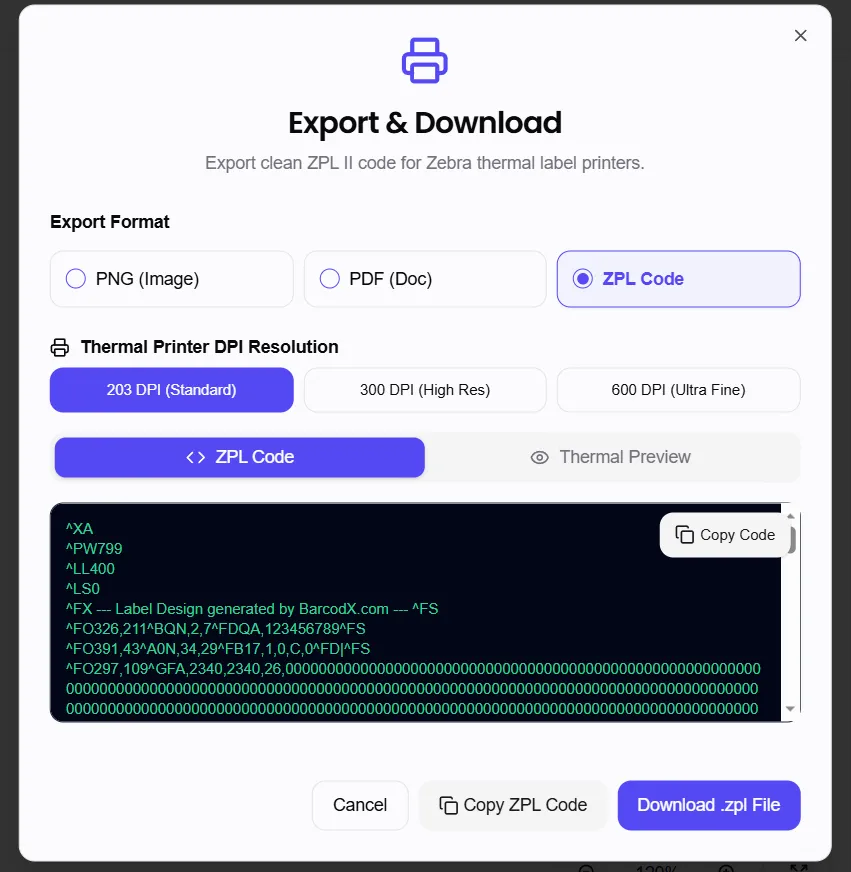
Figure 2: The ZPL II Code export phase modal with 203/300/600 DPI toggle and direct file download options.
Here is a sample ZPL script produced by the designer during the export phase:
^XA
^FO50,50^A0N,40,40^FDBarcodX ZPL Label^FS
^FO50,110^BY3^BCN,100,Y,N,N^FD12345678^FS
^XZ
^XA/^XZ: Opens and closes the print job buffer.^FO50,50: Specifies Field Origin (X=50, Y=50 dots).^A0N,40,40: Selects scalable Font 0, normal orientation, height 40 dots, width 40 dots.^BY3: Sets module bar width ratio to 3 dots.^BCN,100...: Renders a Code 128 barcode with 100 dot height.
Start Designing ZPL Labels Today
Ready to create custom thermal labels without writing code by hand? Launch the visual editor now and generate native ZPL II code instantly.
Launch Zebra ZPL Designer